

Last updated October 30, 2026
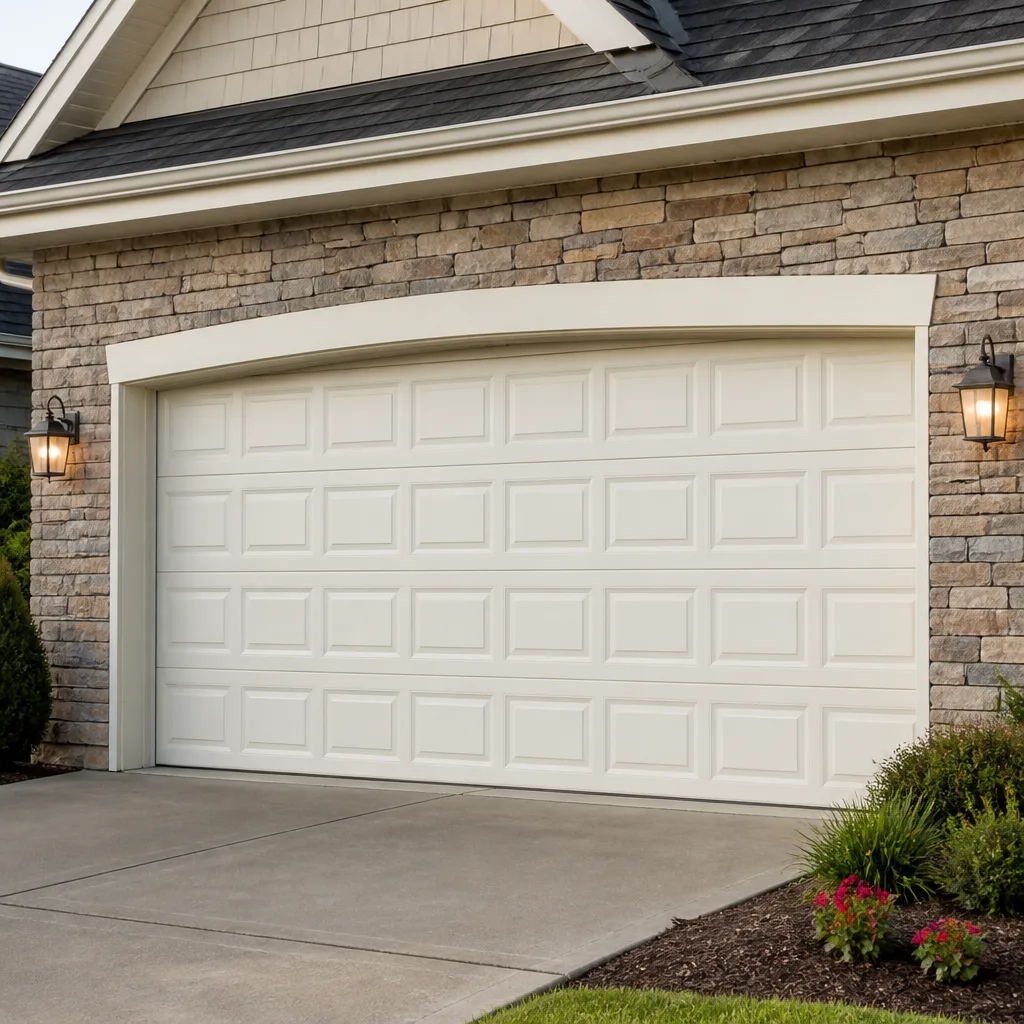 Raised-panel steel
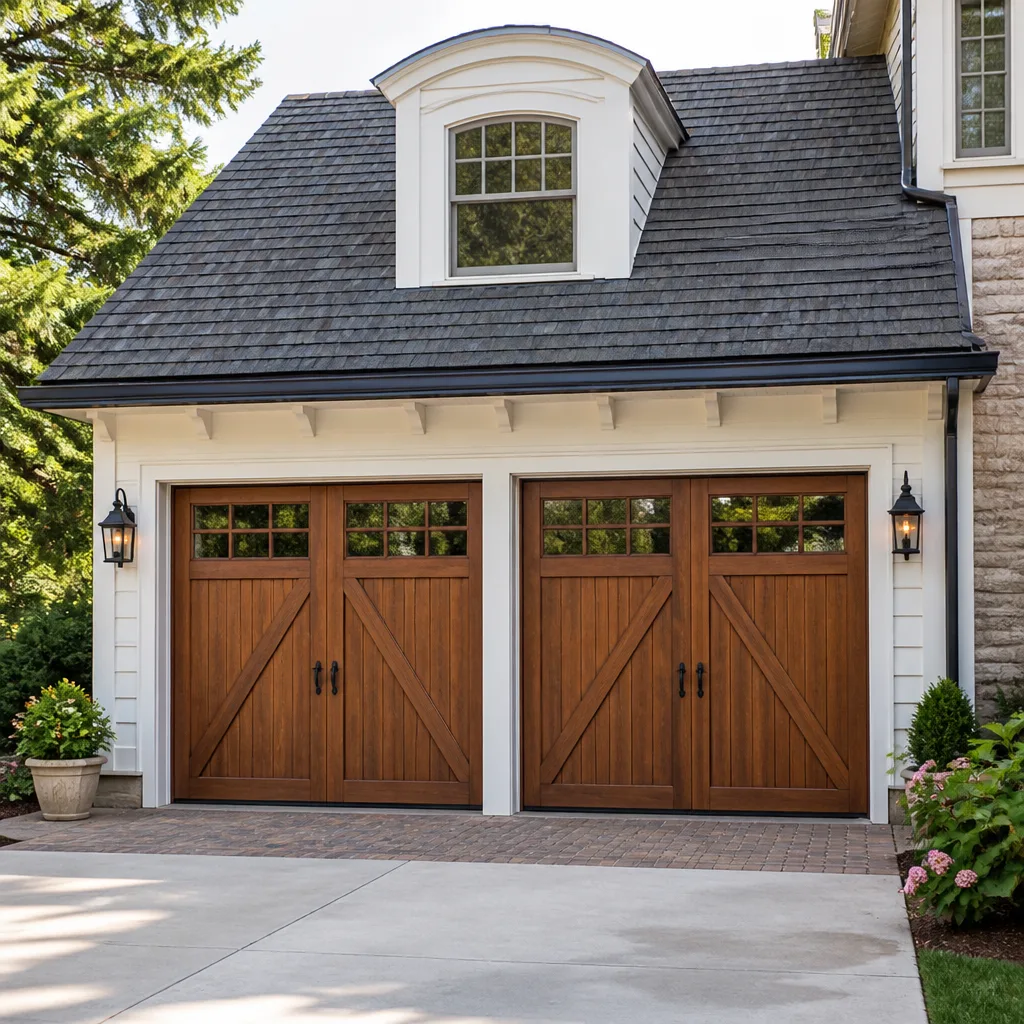 Carriage house
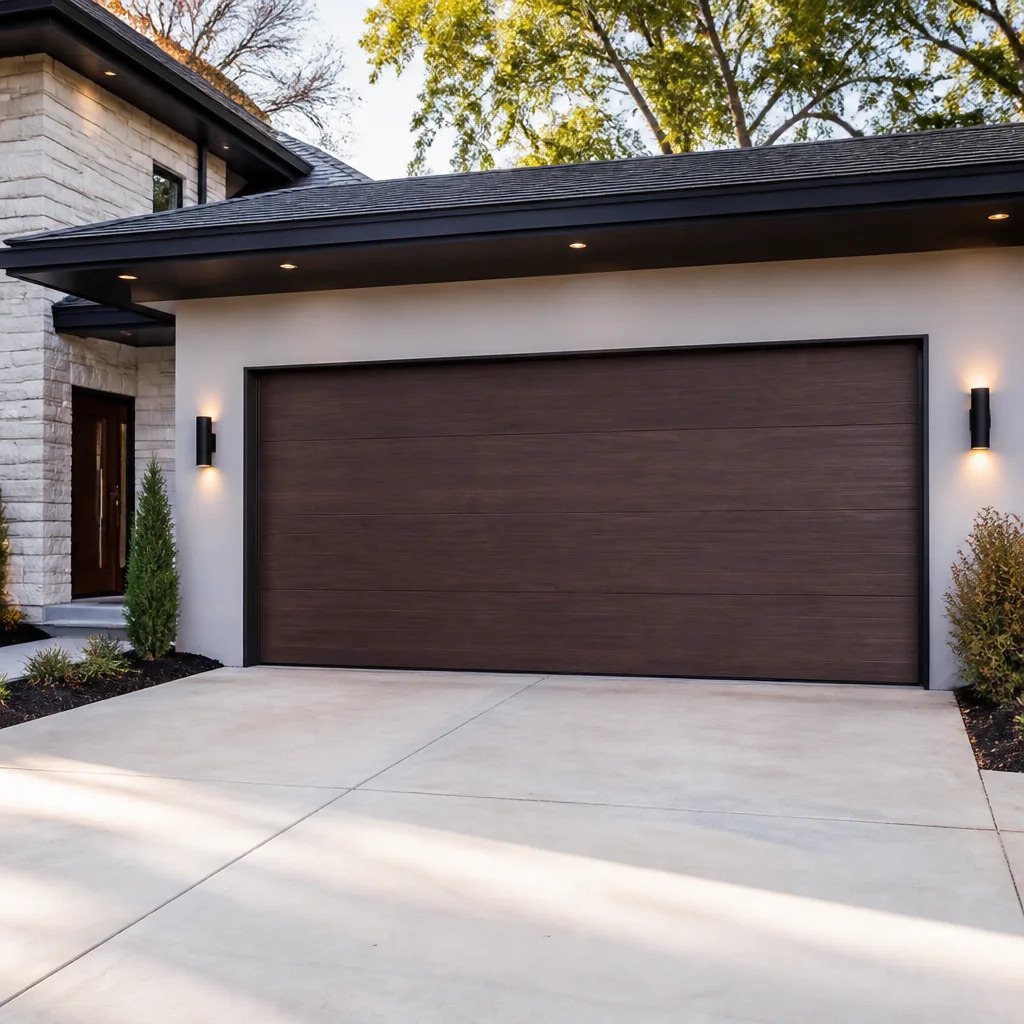 Modern flush
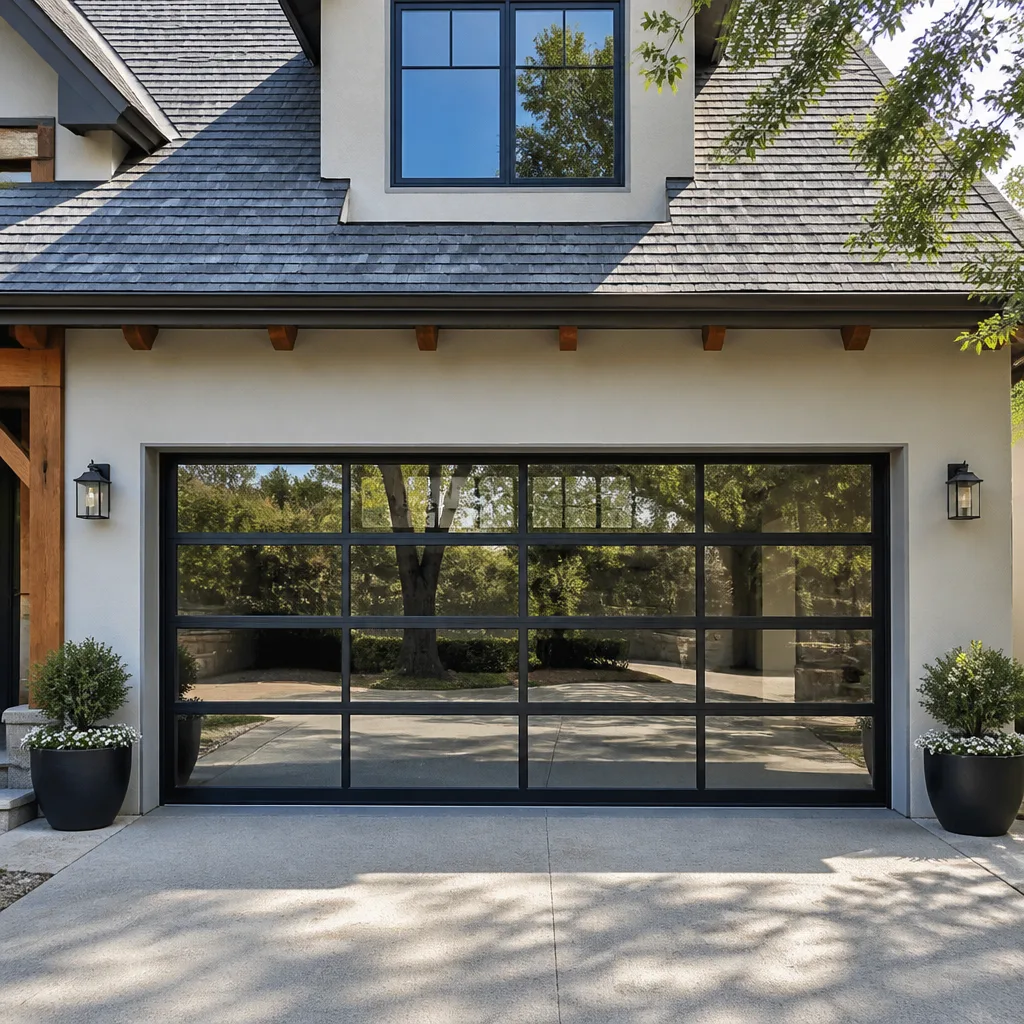 Full-view glass
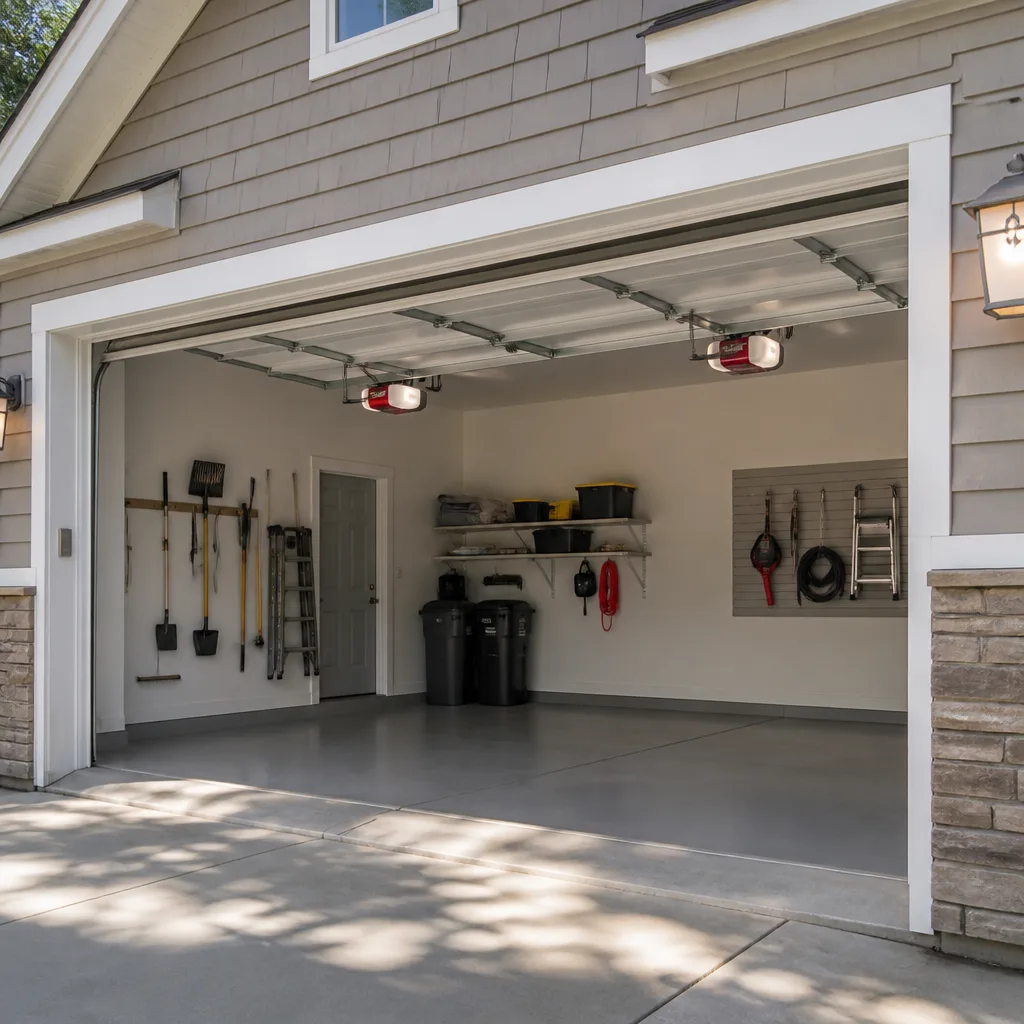 LiftMaster openers
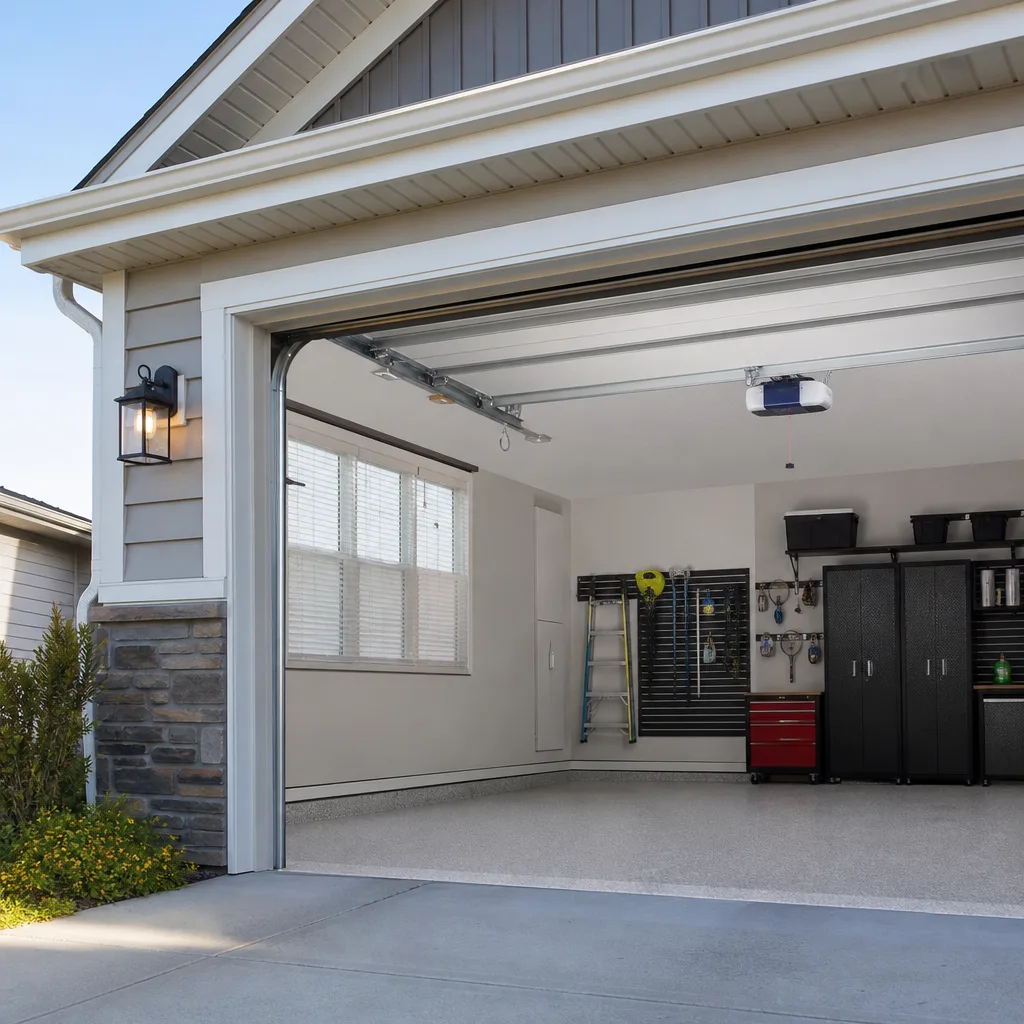 Chamberlain openers
Full 25-point door and opener safety check with every visit - springs, cables, rollers, tracks, and your LiftMaster or Chamberlain opener included
You get a price before we start. It does not change when the truck arrives.
Get your free estimateGarage Door Repair Troubleshooting: Common Problems and How to Fix Them
A grinding noise and a squealing noise on a garage door require completely different fixes, yet almost every homeowner in Orlando calls them both “making noise.” That one mislabel sends people down the wrong repair path, costs them money on parts they didn’t need, and leaves the actual problem untouched. This guide flips the usual approach. Instead of a parts-first checklist, we’ll walk through diagnosis the way a technician actually thinks on a service call: sound first, then location, then movement pattern. By the time you finish, you’ll know what’s safe to fix yourself, what needs a pro, and how to describe the problem accurately when you call one.
Quick Answer
Garage door repair troubleshooting starts with identifying the symptom type: a noise, a movement failure, an intermittent fault, or a visual wear signal. Most mechanical issues (springs, cables, rollers, tracks) are unsafe for DIY repair and should be handled by a trained technician, while some opener issues (remote range, sensor alignment, force settings) can be resolved with basic adjustments. In Orlando’s climate, humidity and heat accelerate specific failures, particularly spring corrosion and opener logic board degradation.
Styles & brands we work with
Table of Contents
- Symptom-First Diagnosis: The Technician’s Method
- Noise Diagnostics: Grinding vs. Squealing vs. Rattling
- Opener Problem or Door Problem: How to Tell Before Touching Anything
- Cable, Drum, or Track: Visual Tells That Separate Lookalike Failures
- Intermittent Problems: Reversing, Random Stops, and Logic Confusion
- Stop Points: Symptoms That Mean Do Not Operate the Door
- Orlando-Specific Failures: What Our Climate Does to Garage Doors
- Safety Basics Every Homeowner Should Know
Symptom-First Diagnosis: The Technician’s Method
When we pull up to a house in Orlando’s College Park or Baldwin Park, we don’t start by inspecting parts. We start by asking the homeowner to run the door and we watch and listen. The sequence of sound and movement tells us more in 30 seconds than a visual inspection tells us in 10 minutes. You can do the same thing from your driveway.
The diagnostic tree works in this order:
- Sound: What does the door do when it moves? Grinding, squealing, rattling, popping, or silence when there should be movement.
- Location: Where is the sound coming from? Top of the door, side tracks, center rail, or the opener unit itself.
- Movement pattern: Does the door move smoothly and stop? Jerk and continue? Start then reverse? Move unevenly left to right?
- When it happens: Every time, first use of the day, after rain, only when closing, only when opening?
That fourth question matters more in Orlando than most places. Our humidity cycles mean a door that works fine at 2 p.m. might bind at 7 a.m. when overnight moisture has swollen the weatherstripping or condensed on the tracks. Tracking when a problem appears is diagnostic gold.
Once you’ve recorded sound, location, pattern, and timing, you’ve already done 80% of the work. The remaining 20% is matching that symptom profile to the mechanical reality, which is what the next sections cover.
Noise Diagnostics: Grinding vs. Squealing vs. Rattling
Three different noises, three different systems, three different fixes. Here’s how to separate them the way we do on a service call in Orlando’s Dr. Phillips or Winter Park.
Grinding: Metal dragging against metal
Grinding means metal is touching metal where it shouldn’t. The usual suspects are a roller with a seized bearing, a track that’s been knocked out of alignment, or an opener gear that’s stripped. On LiftMaster and Craftsman openers, a stripped nylon gear inside the motor housing produces a characteristic grind-and-slip pattern: the motor runs, the door shudders, and the chain or belt doesn’t advance smoothly. The gear is a sacrificial part, designed to fail before the motor does, but it needs replacement by a tech familiar with the opener’s internals.
On the door itself, grinding from the side tracks points to rollers. Steel rollers with worn bearings grind against the track face. Nylon rollers with failed ball bearings produce a similar noise but usually with more vibration. Either way, the fix is new rollers, and while you’re at it, new hinges if they show slop.
Squealing: Friction without proper lubrication
Squealing is a friction noise, almost always where the door runs through the curved track or where the torsion spring coils rub against themselves. It’s more annoying than urgent, but ignoring it accelerates wear. A dry torsion spring on any door, including Wayne Dalton and Raynor models, squeals as the coils shift under load. The temporary fix is a spring lubricant applied along the coil length; the diagnostic takeaway is that the spring is dry and has been for a while.
Squealing at the track curve usually means the rollers need lubrication or the track needs cleaning. Orlando’s fine construction dust and humid air create a paste that builds up on track surfaces faster than you’d expect. We see doors with so much buildup on the curve that the roller literally changes shape as it rounds the bend.
Rattling: Loose hardware or worn hinges
Rattling means something is loose. Hinge screws back out over time, track brackets loosen where they mount to the wall, and opener rail bolts work free. Run the door by hand (pull the release cord) and watch for components that shimmy as the door moves. A rattle that only happens when the opener runs, but not when the door moves by hand, is usually in the opener rail or the motor unit mount.
Rattling is one of the few noises you can safely address yourself: tighten visible bolts and screws, but don’t touch anything under tension. The spring system is not a DIY zone.
Opener Problem or Door Problem: How to Tell Before Touching Anything
Half the calls we take in Orlando could be shortened from 20 minutes to 5 if the homeowner first pulled the emergency release cord and ran the door by hand. That single test separates opener problems from door problems faster than any other step.
Here’s the sequence:
- Close the door completely.
- Pull the red emergency release handle hanging from the opener rail. This disconnects the door from the trolley.
- Lift the door manually by the handle or bottom edge.
- Run it halfway up and let go.
If the door moves smoothly by hand but balks when connected to the opener, the opener is the problem: force settings, travel limits, logic board, or drive gear. If the door is heavy, binds, or won’t stay put by hand, the door mechanism itself needs attention. A properly balanced door should hold position at the halfway point without drifting up or down. If it drops, a spring has lost tension or failed. If it binds at one spot, you have a track, roller, or cable issue.
This test matters because an opener that’s fighting a heavy door will eventually destroy itself. We’ve replaced opener gear sets in Orlando homes where the real problem was a broken spring the homeowner never noticed because the opener masked it. The opener motor compensated for the lost spring balance until the gear stripped. One repair became two.
For a deeper look at openers specifically, see our Garage Door Opener Repair in Orlando page.
Cable, Drum, or Track: Visual Tells That Separate Lookalike Failures
Cables, drums, and tracks live in the same neighborhood of the door, and to an untrained eye a cable problem can look like a drum problem can look like a track problem. Here’s how to tell them apart by eye, without touching anything.
Lift cables
Lift cables are the steel wires running along both sides, from the bottom bracket up to the drums at the top of the shaft. A healthy cable is taut, clean, and seated in the drum grooves. Warning signs: fraying strands visible along the cable length, rust spots, slack in the cable when the door is closed, or a cable that’s jumped out of the drum groove and is wrapping unevenly. A frayed cable is a failure waiting to happen. Do not operate the door. Cables under tension snap violently and can cause serious injury.
Drums
Drums are the grooved spools at each end of the torsion shaft. They wind and unwind the cables in sync with the spring. A worn drum shows grooving that’s been widened or polished by cable wear, or a cable that’s riding up over the drum edge instead of staying in its track. If one drum shows different wear than the other, the door has been running out of balance for a while. Drums and cables are replaced as a pair on most doors.
Tracks
Tracks are the vertical and horizontal rails the rollers ride in. A bent track shows a visible kink, a gap where the track has pulled away from the jamb, or a spot where the roller struggles to pass. Tracks get knocked out of alignment by cars bumping the lower vertical section, or by children and equipment leaning against them. Minor track issues can sometimes be corrected, but a kinked track usually needs replacement. The vertical track is under less tension than the horizontal, but both should be handled carefully.
The cable-drum-track system is one of those places where a trained eye saves money. We’ve arrived at homes where a homeowner replaced a track that was fine, while the actual problem was a failing drum wearing through the cable. Every part you replace that wasn’t the source of the problem is money that didn’t need to be spent.
Intermittent Problems: Reversing, Random Stops, and Logic Confusion
The most frustrating garage door problems are the ones that don’t reproduce on demand. The door reverses for no reason, sometimes. The opener stops halfway, sometimes. The remote works from the street but not the driveway, sometimes. Intermittent faults have a logic, and it’s usually one of three things.
Safety sensor confusion
Modern openers, including LiftMaster and Chamberlain units, use photo eye sensors mounted low on both door tracks. If the beam is interrupted, the door refuses to close or reverses mid-cycle. Intermittent reversal often means the sensor beam is being broken by something that isn’t always there: a leaf, a cobweb, morning glare from the Orlando sun hitting one eye at a specific angle, or a sensor bracket that’s loose enough to shift when the door vibrates. Check alignment, clean the lenses, and secure the brackets. That resolves a surprising number of “random reversal” complaints.
Limit switch drift
Limit switches tell the opener where the door stops at the top and bottom of travel. They’re adjustable, and on older units they drift. A door that sometimes stops 6 inches short of the floor is a classic limit switch symptom. The fix is a screwdriver adjustment, but each brand has a different procedure. Genie and LiftMaster units differ enough that adjusting the wrong screw can make the problem worse.
Trolley and rail wear
On chain-drive and belt-drive openers, the trolley rides the rail and pulls the door. Over time the trolley wears, the chain stretches, or the belt develops a worn section. The result is an opener that works, then doesn’t, then works again, usually with a position-specific pattern. A door that stalls at the same point in the rail every time but overcomes it sometimes is telling you the wear point has been reached. That’s replacement territory.
Intermittent problems are the hardest to diagnose over the phone and the easiest to solve in person. We tell Orlando homeowners to note the pattern: which direction, what point in the cycle, what time of day, and what the weather was doing. Those details compress a 45-minute on-site diagnosis into 10 minutes.
Stop Points: Symptoms That Mean Do Not Operate the Door
Some symptoms are not troubleshooting prompts. They’re stop signs. Operate the door with any of these conditions and you’re risking injury, property damage, or both. Here’s the list we give every homeowner in Orlando before we leave a service call.
- Visible cable fraying or a cable that has jumped the drum. A cable under tension snapping is violent. Do not open or close the door. Disconnect the opener if possible and leave the door in place.
- Torsion spring broken into two pieces. If you see a gap in the coil, the spring has failed. The door is now dead weight. Do not attempt to lift it manually and do not use the opener.
- Door hanging unevenly. One side lower than the other means a structural failure or a cable/spring issue. The door can drop suddenly.
- A loud bang from the spring area followed by no movement. That’s a spring snapping. The sound is unmistakable. The next step is calling a professional.
- Any smoke, burning smell, or visible arcing from the opener unit. Kill power at the breaker and leave it off until a tech arrives.
- A door that has come off its tracks partially or fully. The door is supported by the tracks. Once off, it can fall.
If you see any of these, the door is a safety hazard. Don’t try to secure it with straps or blocks unless you know exactly what you’re doing, and keep people and pets away from the door’s path. This is the point where a local professional is not an upsell, it’s the only safe option.
Orlando-Specific Failures: What Our Climate Does to Garage Doors
Garage doors don’t fail the same way in Orlando as they do in Phoenix or Minneapolis. Our climate creates a specific failure profile, and knowing it helps you anticipate problems before they strand your car in the driveway.
Spring corrosion
Orlando’s humidity sits above 70% for most of the year. Torsion springs are bare steel, and bare steel rusts here. A spring that would last 12 years in a dry climate might fail in 7 in Orlando’s moisture. The rust weakens the coil, accelerates fatigue, and the spring snaps. We recommend an annual visual check of the spring. Surface rust is normal; deep pitting or visible flaking means the spring is nearing its end.
Opener logic board degradation
Electronics hate heat and moisture. The logic boards inside opener heads, especially older LiftMaster, Genie, and Craftsman units installed before modern conformal coating, develop solder joint failures from thermal cycling. An opener that works fine in the morning but fails on a 95-degree Orlando afternoon is often a board that’s shifting with heat expansion. If the unit is old, board replacement or a new opener is cheaper than repeatedly patching the symptom.
Roller and hinge wear from daily cycling
Orlando’s neighborhoods, from Thornton Park to Lake Nona, are full of homes where the garage door is the primary entry point. Cars go out, cars come in, bikes come through, the door cycles multiple times a day. That’s heavier-than-average usage, and rollers and hinges show it first. Nylon rollers wear smooth, hinge rivets loosen, and the door develops lateral play. An annual lubrication and inspection catches these before they cascade.
For a full look at what repair work involves here, see our Garage Door Repair in Orlando page.
Safety Basics Every Homeowner Should Know
Garage doors are the largest moving object in a home. A standard residential door weighs between 130 and 400 pounds. The torsion spring holds enough tension to take a finger or cause a fatal injury if mishandled. This is not a place for heroics. The safe homeowner approach is simple: diagnose from a distance, fix only what’s low-risk, and call a professional for anything under tension.
Here’s what’s safe to do yourself:
- Visual inspection of cables, springs, tracks, and rollers. Look, don’t touch.
- Sensor cleaning and alignment on the opener’s safety eyes.
- Lubrication of rollers and hinges using a spray lubricant, not WD-40.
- Tightening visible bolts and screws on brackets and hinges that are clearly loose.
- Remote battery replacement and reprogramming following the manufacturer’s manual.
- Cleaning track surfaces with a cloth to remove dust and grime buildup.
And here’s what requires a trained professional, no exceptions:
- Anything involving the torsion spring or extension spring. These are under high tension and the release of that tension is the dangerous part.
- Cable replacement or reseating. Cables work with the springs, and the same tension risks apply.
- Track realignment or replacement. A door off its track can fall.
- Opener motor, gear, or logic board replacement. Electrical work inside the unit and tension adjustments on the rail are involved.
- Full door removal or replacement. Multiple people, specialized tools, and specific sequencing are required.
If you’re not sure which side of this line your problem falls on, that’s what the phone call is for.
How Much Does Garage Door Repair Cost in Orlando?
Repair costs in Orlando vary by the part and the labor involved. Here’s a realistic range based on what we see across the city:
| Repair Type | Typical Cost Range in Orlando |
|---|---|
| Roller replacement (set) | $95 – $180 |
| Cable replacement (single) | $160 – $280 |
| Spring replacement (torsion, single) | $180 – $340 |
| Spring replacement (torsion, pair) | $280 – $550 |
| Track realignment | $130 – $250 |
| Sensor realignment or replacement | $80 – $160 |
| Opener gear replacement | $140 – $260 |
| Full opener replacement (installed) | $400 – $850 |
These are market ranges for the Orlando area, not quotes. The actual price depends on the door brand, the part quality, the age of the system, and whether other components have worn alongside the primary failure. Every repair we do is priced upfront, before any work starts. You’ll know the number before a tool is picked up.
Common Mistakes to Avoid
- Lubricating the wrong parts. Spraying the spring with penetrating oil is fine; spraying the track with WD-40 creates a sticky paste when Orlando’s dust mixes in. Lubricate rollers and hinges, keep the track dry and clean.
- Ignoring a noisy door until it stops moving. Noise is a leading indicator. A squealing spring is telling you it’s dry and wearing. By the time the door won’t open, the spring has already failed.
- Replacing the opener when the door is the problem. A heavy, unbalanced door will kill a brand-new opener. Test the door by hand first. The release cord pull takes 10 seconds.
- Adjusting spring tension without a winding bar and experience. This is the most dangerous DIY mistake we’re aware of, and it can be fatal. Do not attempt it.
- Buying parts online without confirming the correct spec. Springs are sized by wire gauge, coil diameter, and length. The wrong spring won’t balance the door and can cause rapid failures elsewhere.
- Assuming an intermittent problem fixed itself. Intermittent means the cause is still there, just finding different expressions. A door that reverses sometimes will reverse at the wrong time eventually.
- Skipping the annual visual inspection. Orlando’s climate doesn’t pause for your schedule. A 5-minute look at cables, springs, and rollers once a year catches failures at the early stage, when they’re cheap.
See the difference
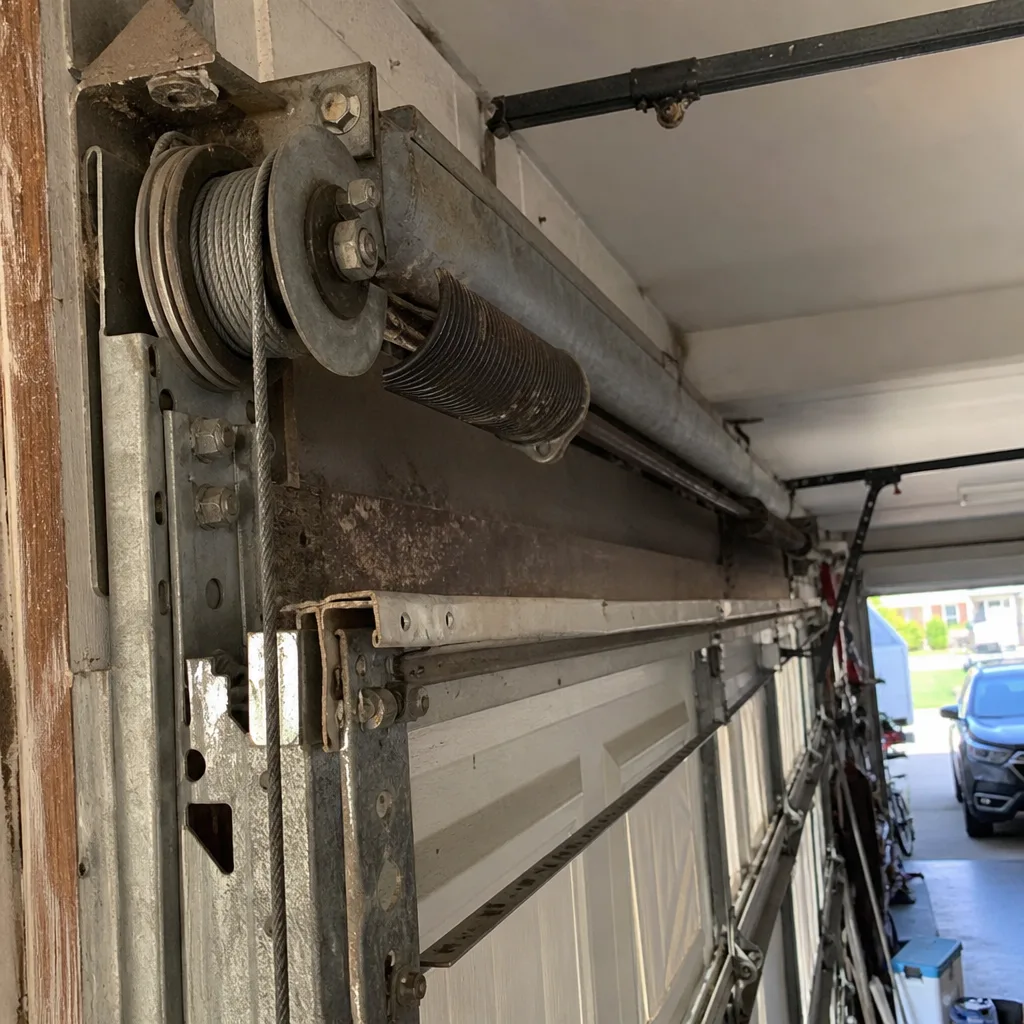 Before
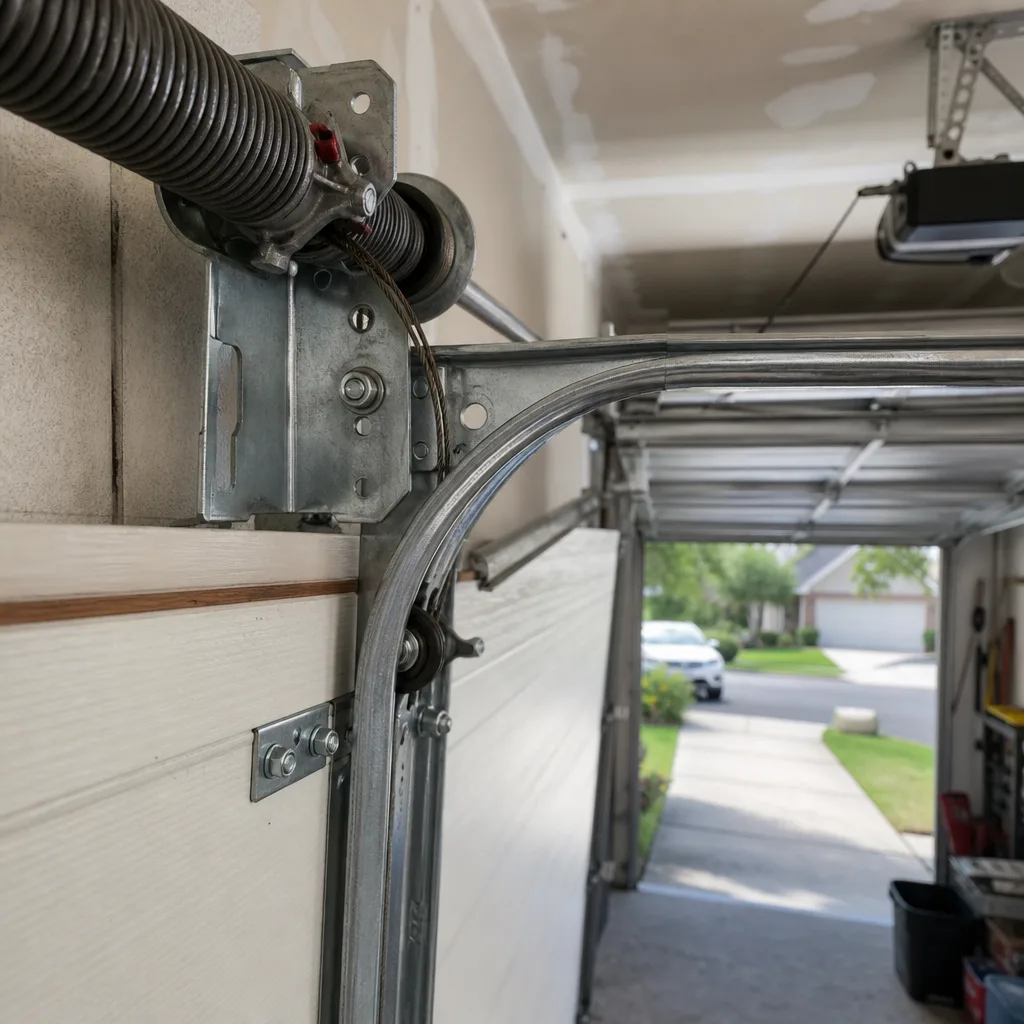 After
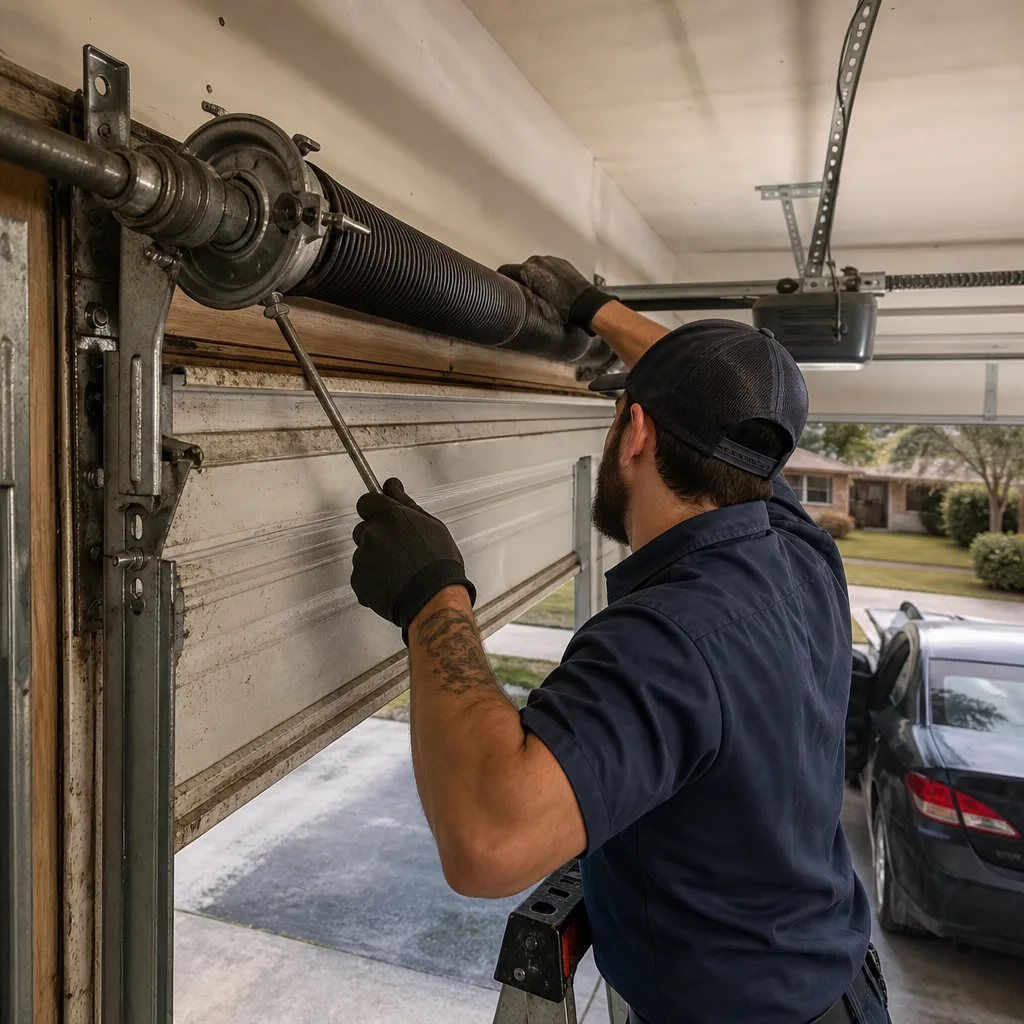 Before
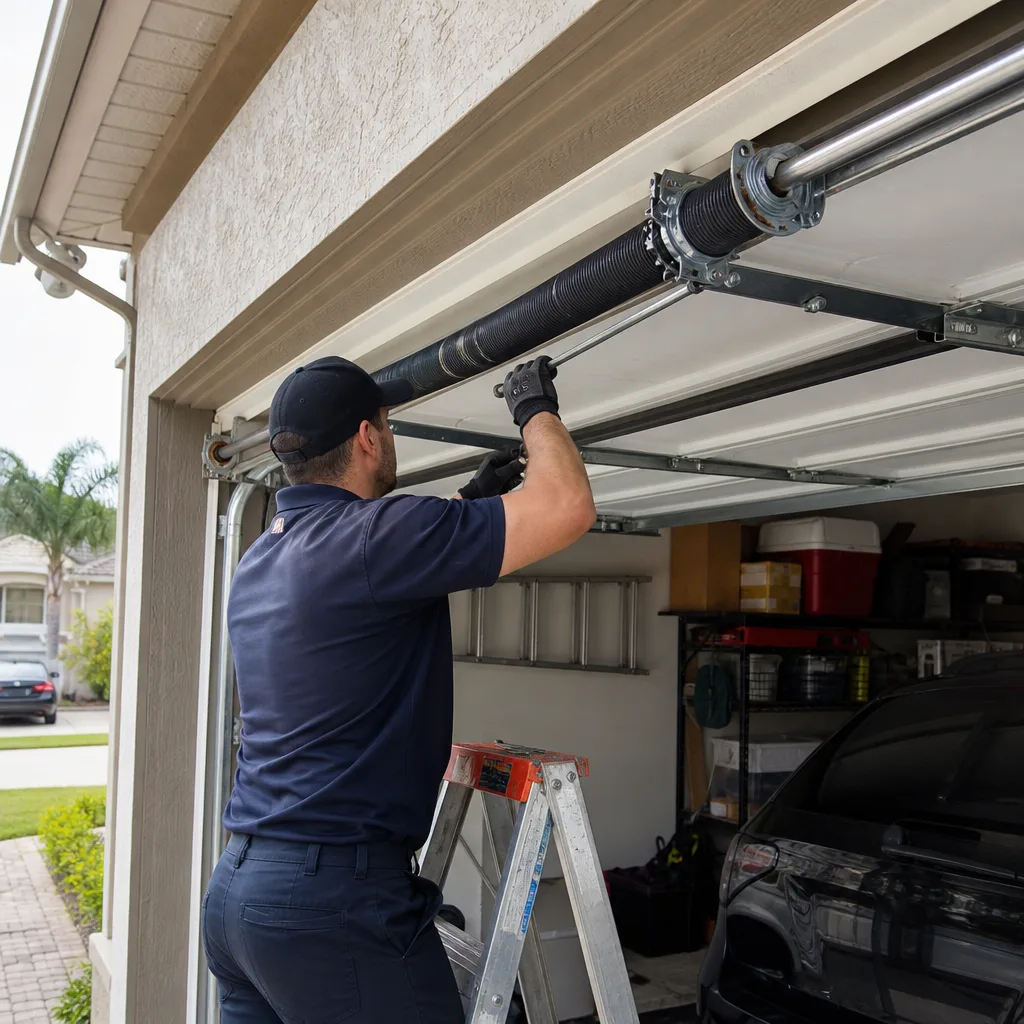 After
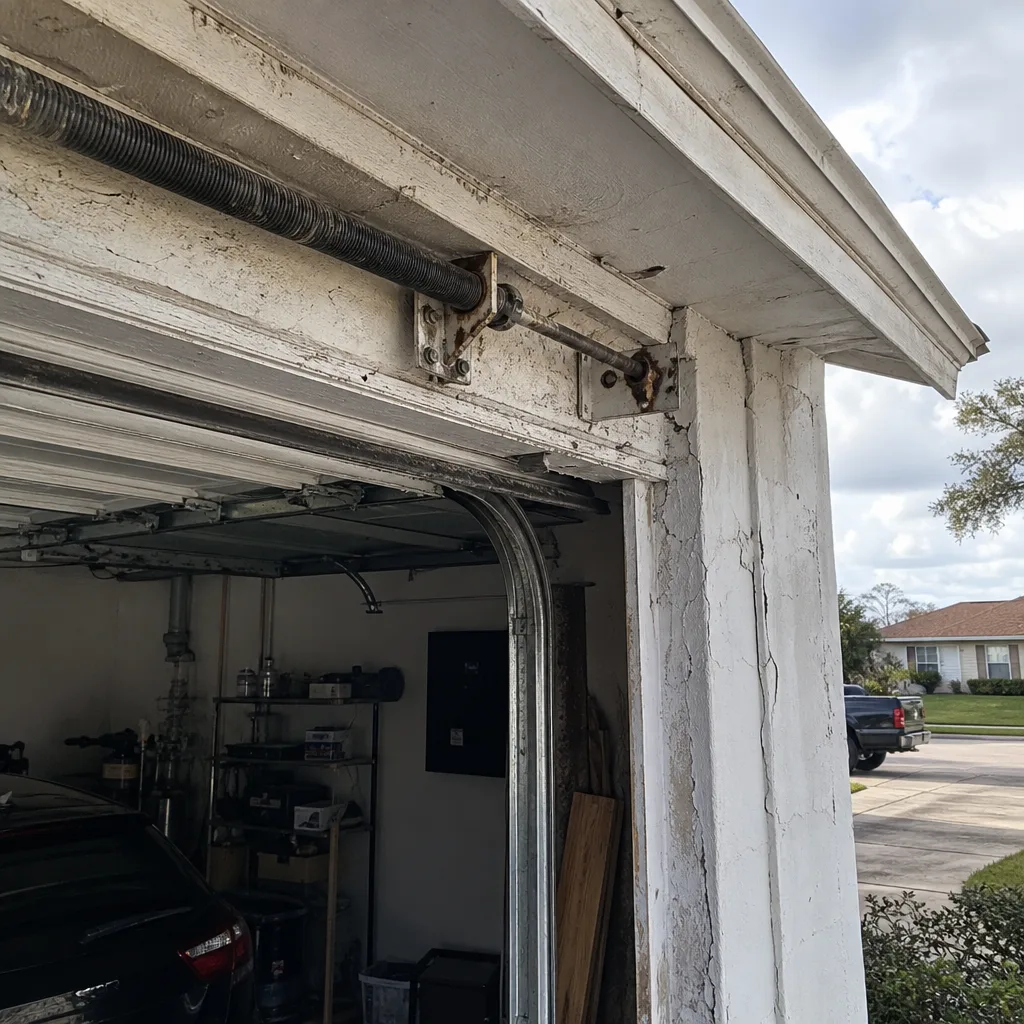 Before
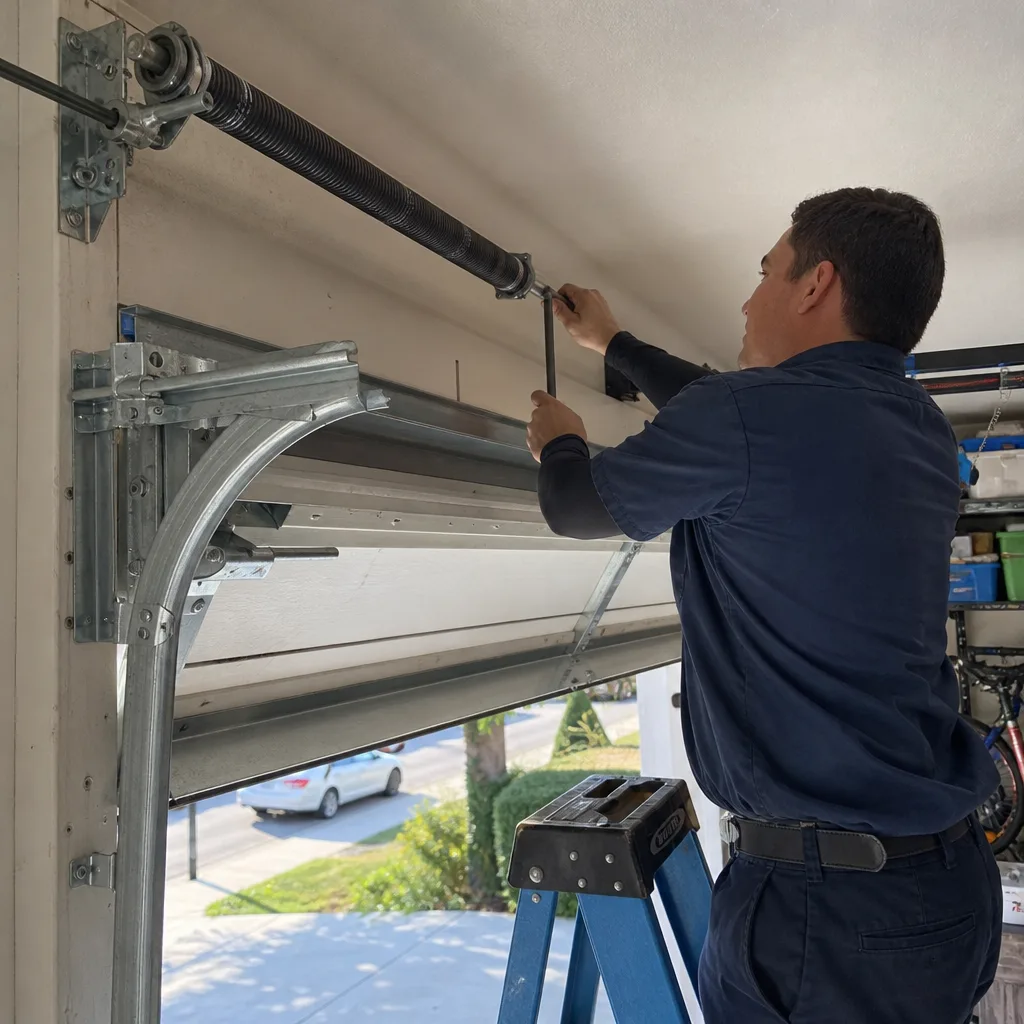 After
When to Call a Professional
Call a professional when the problem involves springs, cables, tracks, or anything under tension. Call when the door is unbalanced, when the opener logic is failing inconsistently, or when you’ve tried the safe fixes and the symptom remains. The line between safe DIY and dangerous territory is bright, and it’s not a line worth testing. At Lighthouse Garage Door Service, we’re certified across LiftMaster, Chamberlain, Genie, Clopay, Amarr, Wayne Dalton, Craftsman, and Raynor, so we work on the brand you already have, not the one we’d prefer to sell you. Lighthouse Garage Door Service offers free estimates in Orlando, call (833) 613-0599.
Frequently Asked Questions
A loud bang from the spring area almost always means a torsion spring snapped. That’s a failure, not a fix-it-yourself situation. Do not operate the door, disconnect the opener if you can safely do so, and call a professional. In Orlando’s humidity, spring corrosion accelerates this failure, so an annual visual check is worth doing.
A door that reverses mid-close is usually responding to a safety sensor signal. The photo eyes at the bottom of the track may be misaligned, dirty, or blocked by debris. Clean the lenses, check that both lights are on and steady, and make sure nothing is in the beam path. If that doesn’t fix it, the logic board or a limit switch may be the culprit. Call (833) 613-0599 and we’ll diagnose it properly.
No. Torsion springs are under enough tension to cause serious injury or death if mishandled. The winding and unwinding procedure requires specialized tools and specific training. This is the highest-risk repair on a garage door, and it’s not worth the risk. A professional replacement costs a fraction of a hospital visit.
Most Orlando garage door repairs fall between $95 and $550 depending on the part. Roller and sensor fixes are on the lower end; spring and full opener replacements are on the higher end. Every reputable company prices the job before work starts, so you should always know the number upfront. Call (833) 613-0599 for a free estimate on your specific repair.
Intermittent operation usually traces to one of three things: a safety sensor beam being interrupted inconsistently, a limit switch drifting out of adjustment, or trolley wear on the opener rail. Note the pattern, when it happens, which direction, and any weather correlation. That information makes diagnosis much faster. In Orlando, heat expansion on older logic boards is also a common cause of afternoon-specific failures.
In Orlando’s humidity, torsion springs typically last 7 to 10 years compared to 10 to 14 in drier climates. The moisture causes rust, which weakens the coil and shortens the fatigue life. If your springs are approaching the 7-year mark, an annual inspection is a good idea, and many homeowners choose to replace both springs proactively when one reaches serious wear.
Should You Repair or Replace Your Garage Door?
Repair is usually the right call when the door itself is structurally sound and the failure is a wear component: spring, cable, roller, hinge, or opener part. Replacement makes sense when the door is dented or sagging, when panels are damaged beyond cosmetic repair, when the track system is compromised, or when you’re paying for repeated repairs that are approaching the cost of a new door. A good rule of thumb from our work across Orlando: if a single repair exceeds half the cost of a new door, and the door is over 15 years old, replacement starts making economic sense. For a straight answer on whether your specific door is worth saving, talk through it with us before you commit either way. See our Garage Door Installation in Orlando page for what a new door involves.
The Bottom Line
Garage door troubleshooting is a diagnostic skill, not a parts catalog. Sound, location, movement pattern, and timing tell you what’s wrong before you touch a tool. The safe fixes, cleaning, lubrication, sensor alignment, and tightening, handle maybe 20% of common problems. The other 80% involve tension, weight, or electrical internals that belong in professional hands. Orlando’s climate accelerates spring and board failures, so annual checks pay for themselves here more than almost anywhere. When in doubt, pull the release cord and run the door by hand, take notes on what you observe, and call a technician who works on the brand you already have, not just the one they sell.
Written by the team at Lighthouse Garage Door Service, serving Orlando since 2014.